Showing posts with label free sundress pattern. Show all posts

Mod Mondays - The Shoulder Tie Dress : Variation 2


Welcome to variation 2 of the Mod Monday series!  This series features simple modifications that can be made to my easy and free Shoulder Tie Dress pattern.  See the sidebar to the right for the links to the tutorial series.  If you missed out on week one please take the time to go back and see it, you don't want to miss out on that cuteness!

The variation for this week involves changing the neckline a little bit.


For this variation I drafted a simple flutter sleeve, sewed it so that the straight edge of the flutter sleeve continued the casing line and then used elastic to gather the neckline instead of ribbon or ties.  For this little one, I could have probably shortened the elastic a bit as it was just slightly big on her, but I didn't get the chance to do that before picture day.


The flutter sleeve is drafted as just a very simple shape.  It looks something like the shape below.  The amount of curve that you add will determine the shape of the flutter sleeve.  There is no real right or wrong, it just depends on your taste.  I used a pretty steep curve for mine.  The more steep the curve, the more dramatic the sleeve will be.


The skirt portion of this variation, once again, follows the tutorial as it is written.


For this variation I chose a pretty blue print because this little one has the most beautiful pale blue eyes and I knew that the dress would only show them off.


I'm looking forward to the link party coming up on Monday, September 29.  I hope that you will share your variations with me!

Until next time, happy sewing!


Mod Mondays - The Shoulder Tie Dress: Variation 1


Welcome to Week 1 of the Mod Monday series!  This series will feature simple modifications that can be made to my easy and free Shoulder Tie Dress pattern.  See the sidebar to the right for the links to the tutorial series.

For this first modification, the change made to the pattern is as simple as adding one buttonhole.  Really, that's all there is.


I changed the location of the bow to the center back by simply adding a buttonhole to the center back before sewing the casing down.  Thread the tie through the buttonhole into the back casing, through the front and then back through the back casing and back out the buttonhole. I used an extra long piece of ribbon to add a bit of romantic drama to this particular dress.   Super easy, super cute!

Everything else about this mod follows the tutorial instructions just as they are written.


I had been told that some of the favorite things of the little miss who modeled the dress are pink, flowers and dresses.  She was incredibly cute when she saw the dress for the first time.  She hugged it to her chest, jumped up and down and ran to try it on. I think it was a hit with her and she looks lovely wearing it. She is so very photogenic that it was really difficult to choose which photos to use, so I will leave you with just a couple more of my favorites.

I hope you will join me next week for Variation 2!

Until next time, happy sewing!


Tiered Pillowcase Dress: Week 5 - Finishing the Dress


Welcome to the final week of the shoulder tie dress sew along!
The links for the previous weeks are in the right hand side bar for those of you who might need them.

Let's get started!

Week 5: Finishing the Dress (time needed: about 1 - 1 1/2 hours)

1. Fold your bodice piece in half and mark the center point of both the front and the back along the bottom edge.


2. Attach the skirt to the bodice using the same method you did last week when attaching the two tiers together.  Match your center marks and your side seams.  Draw up your gathers, pin and sew using a 1/2 inch seam allowance.


3.  Finish this seam with a serger if you wish.

4. Press the seam toward the bodice and topstitch as with the tiers.

5. Cut your length of ribbon and place a safety pin in the end.


6. Lay your dress in front of you with the front facing you.

7.  Beginning with the side nearest your right hand (the left shoulder of the dress) insert the ribbon into the casing using the safety pin to thread it through to the other side.  Pull it through until there is about 18 inches left on the tail end.


8. Continue threading through the back side of the bodice.  The two tail ends should tie at the same shoulder.

9. Adjust and pull the ends until they are even.


10. Fold the ribbon ends in half long ways and clip them at a 45 degree angle.


11.  Apply a small amount of Fray Block or Fray Check to the ribbon ends to keep them from raveling.


12.  Tie your ribbons and adjust gathers as needed for the fit you like.

13.  Congrats, you are finished!

Here are a few shots of some of these dresses that I have made. For a couple of them I sewed ties instead of using ribbon.


Thanks for following along!

Tiered Pillowcase Dress Sew Along: Week 4 - Gathering The Bottom Tier


Welcome back!  So here we are at Week 4!  Today we will gather that bottom tier onto the one above.  

If you are just joining us, you can catch up on the previous weeks at the links below. 


Week 4: Gathering The Bottom Tier (time needed about 1 1/2 to 2 hours)


1.  Lengthen your stitch length on your machine a few clicks.  On the top edge of the bottom tier and starting at a seam,  sew a line of stitching 1/2 inch from the edge.  DO NOT backstitch!  Stop at each seam and clip your threads leaving a longer tail than usual.  Continue in this fashion all the way around the edge of the tier until you come back to where you started.   


2.  Sew another line of stitching parallel to the first one.  I usually use the edge of my presser foot for a guide for this.  Start and stop at the seams, clipping threads and leaving long tails just as you did with the first line.  Be careful not to catch the thread tails from the previous line of stitching.  


When you get finished it should look like this. 


3. Repeat steps 1 and 2 on the top edge of the top tier as well. 

4.  Return your stitch length to your normal setting. 

5.  Taking your top tier, fold it in half and mark the centers of each side.  Mark both the top and bottom edges.  


6. Do the same with your bottom tier, if you are making one of the smaller sizes, and mark the top edge only.  If you are making one of the larger sizes, one of your center seams can serve as your center mark.  


7. Place your two tiers right sides together.  The upper edge of the bottom tier should be lined up with the lower edge of the top tier. The upper tier will be "inside" the bottom tier.   

8.  Line up your side seams.  If you pressed your seams in opposite directions you can "nest" them together, just like in quilting. Pin these in place.  Place your pins perpendicular to the edge of the fabric.  


9.  Line up your center marks and pin these in place also. 


10.  GENTLY begin to pull the bobbin threads on the bottom tier and gather the fabric up on them.  Take your time and carefully slide the fabric down a little at a time.  Patience is key here.  Don't tug too hard or you will break the bobbin threads.  Just keep steady pressure on them and working the gathers down the stitching line a little at a time.  


11.  Pull up gathers until they are distributed evenly and the two fabric edges are the same length. You will need to slide the gathers back and forth a bit to get them distributed evenly.  Make sure that the gathers are as perpendicular to the stitching line as possible.  Pin this in place all the way around the edge.  


12.  Beginning at one side seam, begin stitching the two tiers together with a 1/2 inch seam allowance.  Remember to use your needle down and go slow stopping to adjust and remove pins as needed.  Try to keep the gathers as perpendicular to the seam as possible.  Stitch all the way around until you come back to where you started.  Don't forget to backstitch! 


13. Turn the fabric so that you are looking at the right side of the skirt.  Double check all the way around to make sure you are satisfied with how your gathers and seam look.  

14.  If you are finishing your seams with a serger, take another trip around this seam on your serger using a slightly narrower seam allowance than 1/2 inch.  I start just a little bit before a seam and then when I get back to that spot, I taper it out, overlapping my first stitches and then stitch off the edge.  Be careful not to stitch off the edge before your knives stop trimming thread and fabric.  


15.  Press the seam from the bottom tier toward the top tier.  

16.  Topstitch on the top tier, through the seam for the bottom tier, about 1/8 inch from the seam. This will hold that seam in place and the skirt will hang better.   

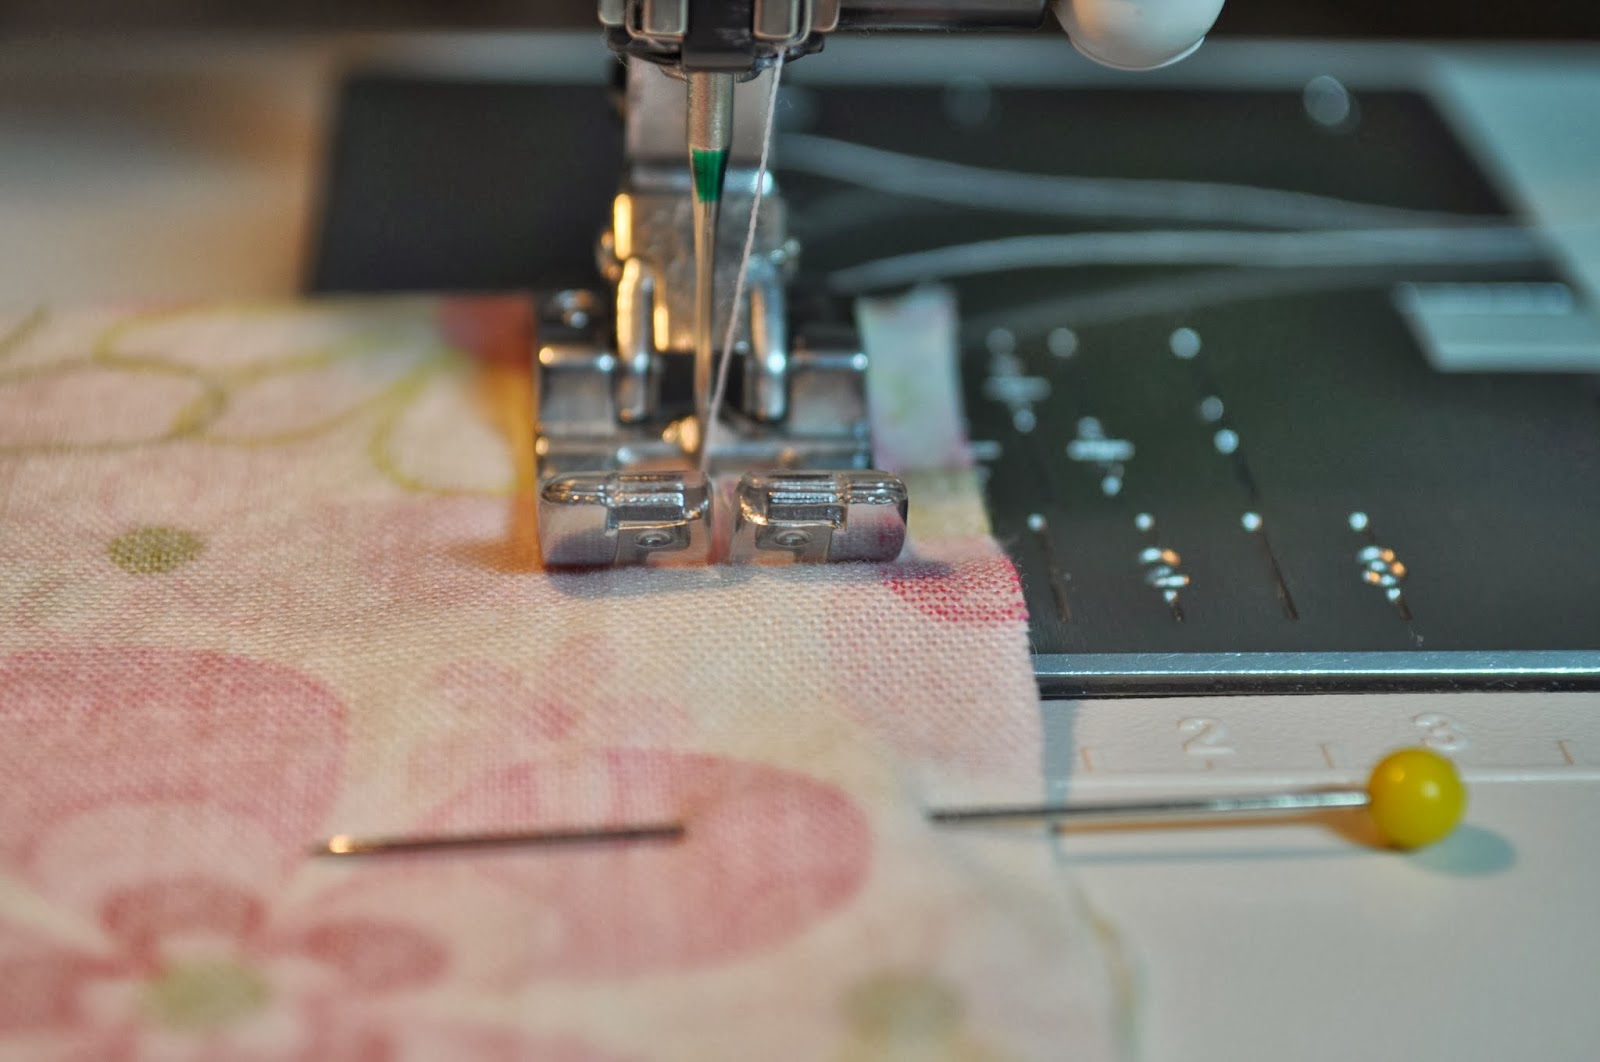
I like to use my "edge joining" or "stitch in the ditch" foot.  It has a small "fin" that sticks out in the front.  


I set my needle off center a few clicks to whichever side of the seam I want to topstitch.  In this case I set it to the right 6 clicks.  Make sure that the foot you are using has a wide enough opening to allow you to do this or you are sure to break a needle.  


When you begin to stitch, let the "fin" on the front of the foot ride along in the seam.  You can see in this picture how the needle is offset from center.  This helps give a nice evenly spaced topstitch.  


And there you have it!  Week 4 is complete.  Next week will be so much fun as you FINISH your dress and then show it off!  
I can't wait to see! 
Until then...
Happy stitching! 

Bloomers...

Hello,  Just popping in quickly to post a response to a question that I have had regarding the shoulder tie dress sew along.

Someone requested a pattern for bloomers.  Normally I would draw one up for you, but I am under a time crunch right now, so I found a link to a free pattern on Craftsy.

It's from Sewing Mama RaeAnna.  She always has cute, cute, cute stuff. :)

I don't know how much you all are familiar with Craftsy, but it is a really amazing site with all kinds of creative inspiration!  Do a little looking around over there and I guarantee you will find something fun!

Have a blessed Sunday!

Tiered Pillowcase Dress Sew Along: Week 3 - Preparing The Skirt Pieces


Welcome to week 3 of the shoulder tie dress sew along! I am getting excited to see what you are coming up with for your own dresses!
If you missed the first two weeks you can find them and get caught up at the links below.

Preparing
Week 1: Cutting
Week 2: The Bodice

Week 3: Preparing the Skirt Pieces (time needed about 1 - 1 1/2 hours)

Today we will begin work on the skirt portion of the dress.
Remember that all seam allowances are 1/2 inch unless otherwise stated.

First of all there are two ways to finish the hem of the dress.  You can either roll the edge with decorative thread on your serger, or you can turn under a narrow hem and sew it on a regular sewing machine.  I chose to do a rolled hem on my serger.  I love the look and it is a big time saver.

Step 1. The first thing you will want to do is to is decide which hemming method you want to use.  If you are NOT using a serger, you can skip the next few steps entirely.  Proceed to step 5 if you are not using a serger to hem your dress.

Step 2.  If you decide to roll the edge on your serger, you must now set your serger up for a 3 thread rolled hem.  I am using a contrasting bright pink thread.  It is not a necessary choice, but I like to use wooly nylon thread in the upper looper and regular thread for the right needle and the lower looper.  This thread stretches as it is being sewn and then relaxes after it is sewn and fills in nicely and gives a nice look overall.  You may have to adjust your tensions slightly for the thread you choose to use.  I suggest testing on a scrap of fabric until you have a look that is pleasing to you.


2. Set your stitch length to the smallest that your machine will go, and set your stitch finger for rolled hem.  On my machine the stitch finger is moved by simply sliding a little lever back and forth.  Consult your manual for the proper set up for your machine.  

3.  For sizes 2-3 and 4-5 proceed to step 4.  For sizes 6-7 and 8-10, four pieces were cut for the bottom tier. Sew two pieces together along one short end using a 1/2 inch seam allowance to make one long piece. Do this to both sets before proceeding.  You should have two long pieces with a seam in the middle of each.  Finish and press the seams before completing the next step.  I find that this gives a cleaner edge when serging.

4. Serge the bottom edge of both pieces of your bottom tier with the right side of the fabric up  trimming only a tiny portion from the edge. I use the edge of my plate as a guide.  Be careful that you use the same measurement for each piece.  
Your edge should look something like this when you are finished. 

5. Sew the short ends of your pieces for the bottom tier right sides together using a 1/2 inch seam allowance .  If you serged your hem, be very careful to line up the hem as closely as possible.  It is better to have the hem edge perfectly even than the top edge. 


6.  Finish this seam with a serged or overlocked edge if you wish.  A little trick I learned that is nice to do with your serger so that you don't have all those loose little strings hanging at the bottom of your hem is something that I have demonstrated below.  

Begin your serged seam at the hem side of the seam.  
 Stitch until you are one or two stitches into the fabric and stop with the needle down. 
Lift the presser foot and pull all of the slack out of the loose chain thread coming from the edge of the seam you just began to sew.  The thread will be behind the needle.  Be sure to really get in there and pull all of those little loops out.  You don't want any loose loops at all behind the needle.  Then pull that thread end toward you around the left side of the needle and under the presser foot and across the edge of the fabric.  Make sure it is snug against the needles and then lower the presser foot.  

Begin sewing again and allow the thread end to be cut by the knives as you continue the seam.  By doing this you will serge right over those loose ends and your seam will look something like this. 

Pretty neat little trick, huh!?

  
7.  Press this seam open if you are not finishing the edges.  If you are finishing the seam edge, then press this seam to one side or another.  Press both seams on this tier in the same direction.  

8.  If you serged your hem, you can skip ahead to step 9.  If you are doing a narrow hem, press 1/4 inch on the bottom edge of your bottom tier toward the wrong side.  Then press up another 1/4 inch.  Sew sew this on your machine starting at a seam and going all the way around the hem until you reach the place where you started.  Stay close to the inside edge of the fold, making sure to catch all the layers in your stitching line. 

9.  Set aside the bottom tier.  

10. Sew the two pieces for the top tier together at the short ends and finish the seams if you wish.  Press these just as you did before, but in the opposite direction from the other tier, unless you are not finishing the edges and are pressing them open.   

And that's it for this week!  Next week we will gather the bottom tier to the top tier.  
Happy Sewing! 


Follow on Bloglovin